Videos with Javascript
For this workshop, we will learn how to use Javascript to pause, play, mute and change styles of videos. We are going to create two styles of web video views: full-page of one video and grid of four videos.
Full-page video with pop-up options
Click to view the demo as a full web page.
Loading the video for full-page view:
First, we will start of with displaying the video as a full-pgae view, meaning that it will resize dynamically according to the size of the window.
<div class="full-page-vid">
    <video id="full-page" autoplay loop muted>
        <source src="video/all.mp4" type="video/mp4">
    </video>
</div>
I have the video tag surrounded by a div, with class name "full-page-vid". General tip with coding for web is that you should always be thinking ahead of time and be surrounding html elements with content and visuals so you can group them together to apply styles to them as a whole as well as to distinguish styles for the indiviudal elements inside of the grouped div. Next we will apply some styles to make this video a full-page size.
html, body{
    height: 100%;
    margin: 0px;
    overflow: hidden;
}

.full-page-vid{
    height: 100%;
}

#full-page{
    height: 100%;
    width: 100%;
}
First, we make our html and body to have a height of 100% of the browser. Once this is done, then the height of the rest of the elements in the web page can be styled in percentages, 100% being the current height of the browser. Thus, we can make both our full-page-vid div and full-page video height of 100%. One other important thing we do to the body is, to make sure that we are displaying everything in a full-page view, we set the overflow to hidden. This will now hide anything that cannot be displayed within the full page and disable the scrollbars. You can also choose to set overflow to hidden for only horizontally by saying overflow-x insteady of just overflow. (There is also overflow-y!)
We have to set a couple of other styles tothe full-page video so that it is always centered and sized right. If you only set the height of the browser, if the height of the window is larger than the width of the browser, it will cutt of the video on its right side. Maybe this is what you want, because this way, the web page if fully covered by the video. However, if you want the user to see the whole video in its original ratio, we need to give it the width of 100% as well. This means that now the video will resize to fill the whole video, as big as possible for the web page, but also it will center the video both horizontally and vertically.
Choosing options, setting currentTime of the video:
Next we will build the options view that shows up on the web page at specific times, as seen in the demo.
<div id="options">
    <div id="opt1" class="options-item">
        <p>Piano Solo</p>
    </div>
    <div id="opt2" class="options-item">
        <p>Piano Duo</p>
    </div>
    <div id="opt3" class="options-item">
        <p>Guitar</p>
    </div>
    <div id="opt4" class="options-item">
        <p>Drum</p>
    </div>
</div>
The options div surrounds 4 divs of class options-item, which contains the text that describes what each of the option is. We are going to basically divide up the height of the screen into 4 so that the space for each option is evenly distributed out across the whole web page.
#options{
    height: 100%;
    width: 100%;
    position: absolute;
    top: 0;
    display: none;
}

.options-item{
    height: 25%;
}

#opt1{
    background-color: pink;
}

#opt2{
    background-color: lightblue;
}

#opt4{
    background-color: lightgreen;
}

#opt3{
    background-color: lightyellow;
}
p{
    text-align: center;
    font-size: 2rem;
    margin: 0;
    position: relative;
    top: 42%;
}
The outer most div for my options is set to have height of 100% and width of 100%, for this full-page view of the option panels. I set the position of the options div to absolute and top to 0, so that I can place this div on top of the video, when I want to display it. Each of the options-item div is set to have height of 25% (because I have four options, so, 100% / 4 = 25%). The options-item divs also have a unique id, which I am using to set their individual background-color. For the text that displays the options, I am using a percentage for my top value to make the text also vertically centered.
Once we are happy with how the options div looks, let's set the display of the div to none to make that the initial state - which we will now change based on the currentTime of the video.
<div class="full-page-vid">
    <video ontimeupdate="checkTime(this)" id="full-page" autoplay loop muted>
        <source src="video/all.mp4" type="video/mp4">
    </video>
</div>
Next, we will move on to javascript. We need to check the time of our full-pgae video so that we can do other actions based on the currentTime of the video. We need to attach our checkTime function to an event of the video that will constantly run this function. So, we will use the ontimeupdate video event to run our checkTime function. We put in as an argument of this function "this", which will contain the self html element (the html element calling the variable this, so in this case the full-page video element).
    var full_vid;
    var options;
    var section_times = [7, 14, 21, 27];

    full_vid = document.getElementById('full-page');
    options = document.getElementById('options');

    function checkTime(vid){
        for(var i = 0; i < section_times.length; i++){
            if(Math.floor(vid.currentTime) == section_times[i]){
                vid.pause();
                options.style.display = "block";
            }
        }
    }
Because we are going to be using the full-page video element and the options div element repeatedly, we will save them as variables, with names full_vid and options. Next, I have an array called section_times, in which I save the times, in seconds, in the video that I want to display the option text. This is one way of not having to have a very long list of if statements to check the times of the video that you just want to do the same actions for. We surround the if statement with a for-loop so that for every time that is specified in the section_times array, it checks with the video's currentTime whether it matches. If so, we pause the video and change the display of the options div to block.
<div id="options">
    <div onclick="changeVideo(0)" id="opt1" class="options-item">
        <p>Piano Solo</p>
    </div>
    <div onclick="changeVideo(1)" id="opt2" class="options-item">
        <p>Piano Duo</p>
    </div>
    <div onclick="changeVideo(2)" id="opt3" class="options-item">
        <p>Guitar</p>
    </div>
    <div onclick="changeVideo(3)" id="opt4" class="options-item">
        <p>Drum</p>
    </div>
</div>
Next thing we need to do is to add onclick events to our divs and depending on which div is clicked on, we will change the currentTime of our video to display the section that user has selected to view. We will create a function called changeVideo that will reset the currentTime of our full-page video. We will also pass in different arguments to the function depending on which div is clicked on, so we can base our new currentTime based on the argument received within the function.
var changed = false;

function changeVideo(vidNum){
    if(vidNum == 0){
        full_vid.currentTime = 0;
    }
    if(vidNum == 1){
        full_vid.currentTime = 7;

    }
    if(vidNum == 2){
        full_vid.currentTime = 14;
    }

    full_vid.play();
    changed = true;
    options.style.display = "none";

    setTimeout(function(){
        changed = false;
    }, 1500);
}
The vidNum variable will contain the argument that is passed on to the function when it is called from any of the four option-items divs. If the according to the value of the vidNum variable, we set different currentTimes of our video. Next, since we pause the video when the checkTime function detects that the currentTime of the video is at any of the specified times in the section_times array, we have to play the video again and make the display of the options div to none. There is one part here that can be slightly tricky. We use a variable called changed to detect whether the currentTime was just changed. The reason for this is that the beginning of a selected section is alo the end time of the previous section, which is specified in the section_times array. If we don't use this variable to detect whether the video's currentTime was just changed, it will just display the options div again, because it will have gone back into the checkTime function's if statement. Since each of my section is 7 seconds, I am using the setTimeout function with time less than the duration of the section but greater than 1 second, to reset the changed variable's value back to false so that it is ready to display the options div again.
var full_vid;
var options;
var section_times = [7, 14, 21, 27];

var changed = false;

full_vid = document.getElementById('full-page');
options = document.getElementById('options');

function checkTime(vid){
    if(changed == false){
        for(var i = 0; i < section_times.length; i++){
            if(Math.floor(vid.currentTime) == section_times[i]){
                vid.pause();
                options.style.display = "block";
            }
        }
    }
}

function changeVideo(vidNum){
    full_vid.currentTime = vidNum * 7;

    full_vid.play();
    changed = true;
    options.style.display = "none";

    setTimeout(function(){
        changed = false;
    }, 1500);
}
Above is the full javascript for the web page. I've replaced the if statements of my changeVideo function with one line of vidNum * 7, because all my sections are of duration of 7 seconds.
You can download the example code from here.
Video grid
Click to view the demo as a full web page.
Creating grid of videos:
We are going to display videos in a dynamically sizable grid of 2 by 2.
<div class="grid-vid-row">
    <div class="grid-vid-item">
        <video class="grid-vid" autoplay loop muted>
            <source src="assets/video/guitar.mp4" type="video/mp4">
        </video>
    </div>
    <div class="grid-vid-item">
        <video class="grid-vid" autoplay loop muted>
            <source src="assets/video/drum.mp4" type="video/mp4">
        </video>
    </div>
</div>
This style of structuring the div elements can be applied to creating divs whether it is for videos or not. We have the outer-most div for the whole row. Depending how many elements you want for each roow (i.e. how many columns you want), it will change the number of grid-vid-item divs you have inside the grid-row-item div. Above html isthe structure for 1 row, so if you want 2 rows, you would just have to copy-paste this code one more time.
    html, body{
        height: 100%;
        overflow: hidden;
        margin: 0px;
    }

    .grid-vid-row{
        height: 50%;
    }

    .grid-vid-item{
        width: 50%;
        height: 100%;
        float: left;
    }

    .grid-vid{
        width: 100%;
        height: 100%;
    }
We are going to create a grid of videos, but we still want it to be contained as a full-page view. So we need to set the height of the html and body to 100%. For the row of the video, we want it to take up half of height of the browser. Then for each grid-vid-item, we make the width to be half of the browser. The video themselves need to maintain a width and height of 100% of itself to fit in the whole of the video.
    .grid-vid{
        width: 100%;
        height: 100%;
        filter: grayscale(100%);
        transition: filter 2s;
    }

    .grid-vid:hover{
        filter: grayscale(0%);
        cursor: pointer;
    }
The important thing that I want to show here is the fact that you can apply the filter css property to videos as well! Using the filter property to transition or animate on hover is a great and simple way of indicating that the user is hovering over a clickable element. Check out w3school's tutorial on filters. For now we will use the grayscale filter to make the videos black and white, and transition to color when the user is hovering on the video.
You can download the example code from here.
ADVANCED | Getting Webcam Feed
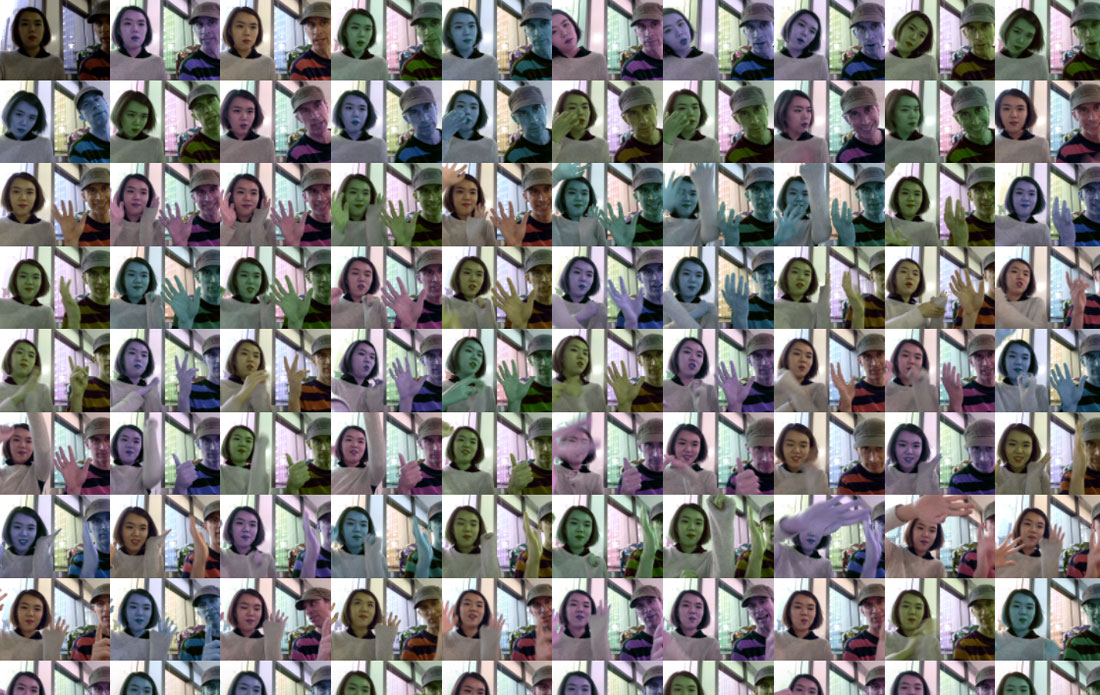
This example is a condensed and altered version of the amazing Mozilla's tutorial on taking photos on the web using the webcam.
<video id="cam"></video>
The simple task of displaying the webcam feed on a website requires an empty video tag, which we will set the source of using javascript. The html just needs to be as simple as a video tag, with no source tags inside.
	var cam;

	window.onload = function(){
		cam = document.getElementById('cam');

		setupMedia();
	};

	function setupMedia(){
		navigator.mediaDevices.getUserMedia({video: true}).then(function(stream){
			cam.srcObject = stream;
			cam.play();
		}).catch(function(err){
			console.log(err);
		});
	}
The javascript will use a couple of elements that you may not be familiar with. We basically need to get the user's media and turn the video to true, to have the browser prompt the user whether they want to allow video or not to be displayed / used on the webpage. The navigator's mediaDevices object has a function that requests the user of the web page to allow video access. If you want to know more in depth about the underlying components, please read these Mozilla's articles on Navigator and getUserMedia method.
<canvas id="canvas"></canvas>
It is slightly more complicated if you want to have the webcam take pictures. The mechanism behind is that we need to save a frame rendered inside of the video tag. The way we do this is by drawing this frame inside of an invisible canvas element. A canvas element is basically an html element that you can use to draw graphics using javascript. For more information about the canvas tag, read this article on Mozilla.
<video oncanplay="setupCanvas()" id="cam"></video>
We will attach a function called setupCanvas() to our oncanplay event of the video that will call the function takePhotos() which will run using setInterval with interval time of 500 milliseconds.
	window.onload = function(){
		cam = document.getElementById('cam');
		canvas = document.getElementById('canvas');

		canvas.setAttribute('width', 640);
		canvas.setAttribute('height', 480);

		setupMedia();
	};

	function setupCanvas(){
		setInterval(takePhotos, 500);
	}

	function takePhotos(){
		var context = canvas.getContext('2d');

		context.drawImage(cam, 0, 0, canvas.width, canvas.height);

		var data = canvas.toDataURL('img/png');

		var newImg = document.createElement('IMG');
		newImg.src = data;
		newImg.className = "outputImg";

		document.getElementById('output').append(newImg);
	}
In our window.onload function, we also set the width and height attribute of our canvas. The code inside of takePhotos() functions can be a little tricky. the getContext function accesses the content of the canvas, so we can alter it or insert in graphics inside of the canvas. The '2d' argument indicates that the graphics we will be rendering inside of the canvas will be in 2 dimensions. Next, we will draw the current frame of the video inside of the context as an image, by using the drawImage function. This function takes 5 arguments: image / video object, starting point, end point, width, height. The toDataURL function returns us the path to the image that is created inside of our browser's cache, which we can use to create an img object and to give as the source (src) attribute. We create a new html elemement, give the source and class name, then insert it into a div with id 'output'.
You can download the example code from here.